안녕하세요
오늘은 유튜브보다가 괜찮은걸 봐서 한번 시도해봤습니다.

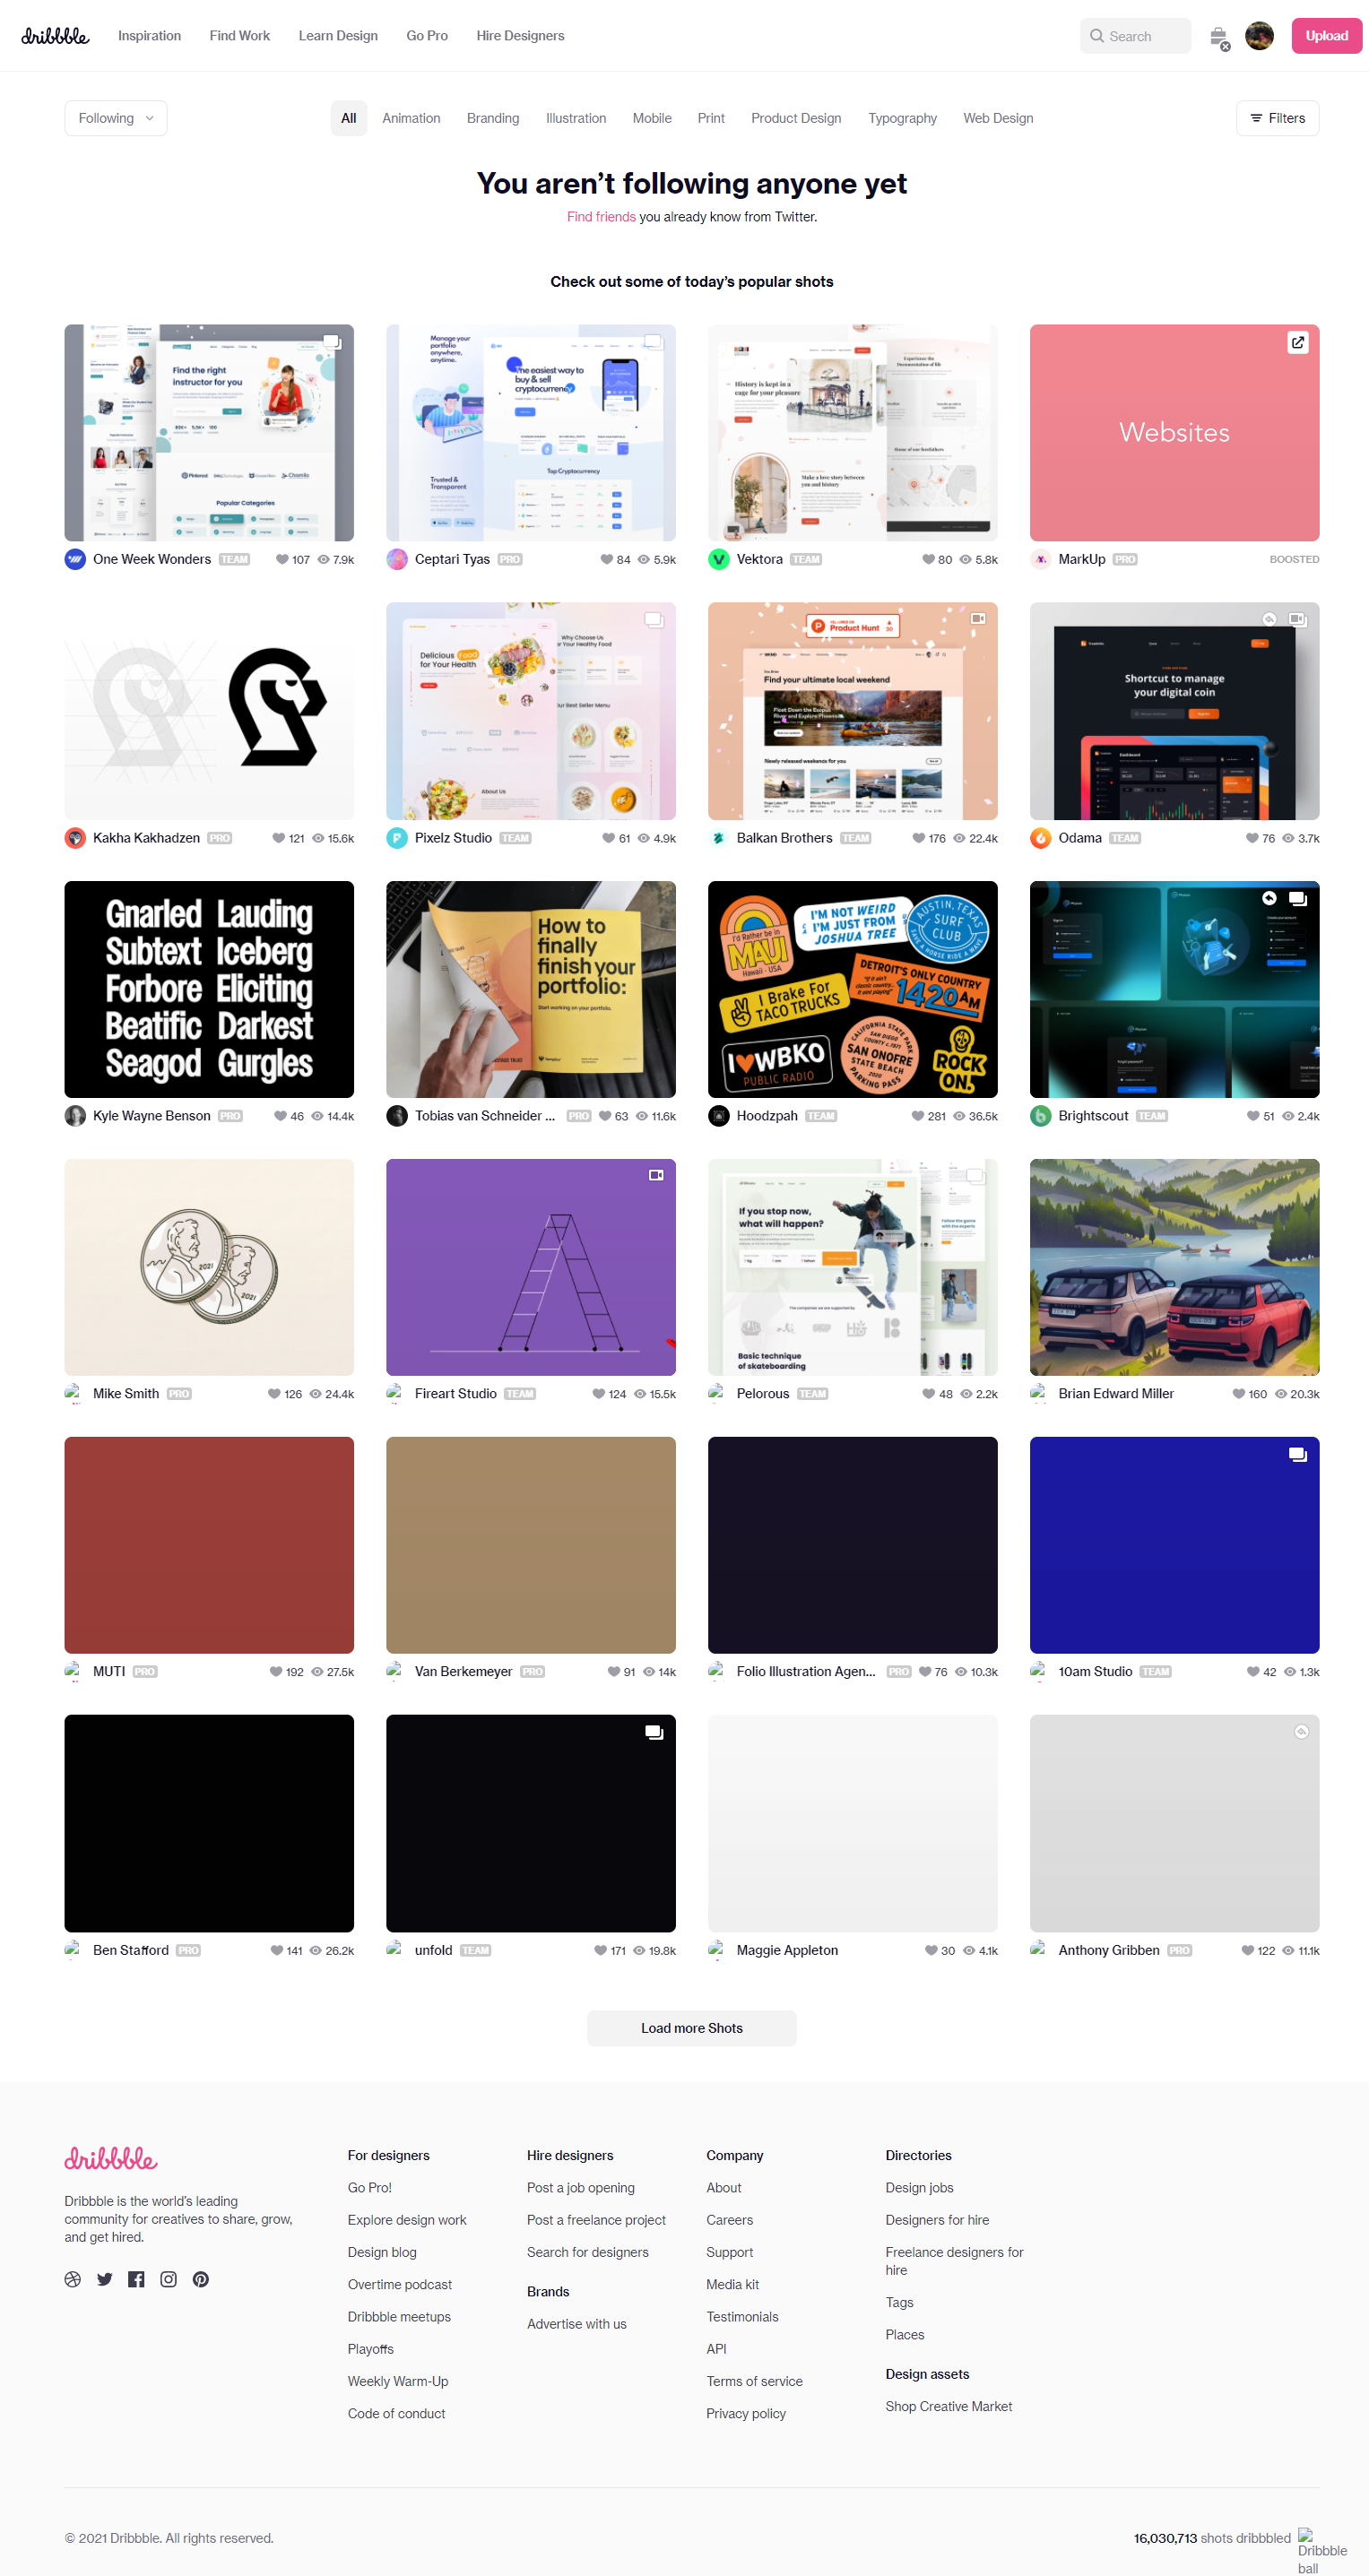
바로 https://dribbble.com/ 위 사이트에서 여러가지 웹디자인이 있는데 최대한 따라해보는 것입니다.
저같은 경우에는

이런 디자인을 대상으로 최대한 따라해보는걸 시도해봤습니다.
그래서 최종적으로는

이러한 디자인이 나왔습니다.
화면 좌상단의 아이콘은 https://fontawesome.com/start 이 폰트어썸이라는 사이트에서 구했습니다.
그리고 화면 우측의 그림은 https://pixabay.com/ko/vectors/%ea%b3%bc%ed%95%99-%ec%8b%a4%ed%97%98-%ec%97%b0%ea%b5%ac-%ec%97%b0%ea%b5%ac%ec%8b%a4-6063326/ 이 사이트에서 구했습니다.
이렇게 간단한 클론코딩임에도 불구하고 저는 모르는게 많아서 생각보다 어렵더라구요 그래도 저혼자서 깔끔한 디자인으로 웹사이트를 꾸밀 수 있어서 좋았습니다. 하지만 CSS가 너무 난잡하고 HTML도 클래스를 다 붙여야하는건지 잘 모르겠네요. 계속해서 나중에는 깔끔하게 코딩할 수 있도록 연습해야겠습니다.
그리고 나중에 여기서 자바스크립트를 통한 드롭다운 목록이나 백엔드를 추가해서 CURD를 구현한다면 꽤 멋진 웹사이트를 만들 수도 있을거 같습니다. 빨리 생활코딩 node.js 같은걸 공부해서 백엔드도 구현해보고 싶네요
아래부터는 코드와 몰랐던점 & 해결법을 소개하고 끝내도록 하겠습니다
1. HTML
<!DOCTYPE html>
<html lang="en">
<head>
    <meta charset="UTF-8">
    <meta http-equiv="X-UA-Compatible" content="IE=edge">
    <meta name="viewport" content="width=device-width, initial-scale=1.0">
    <link rel="stylesheet" href="Lab_style.css">
    <script src="https://use.fontawesome.com/releases/v5.2.0/js/all.js"></script>
    <title>Our Lab</title>
</head>
<body>
    <div class="container">
        <nav class="header">
            <div class="icon">
                <i class="fas fa-flask"></i>
                <a href="#"><h1>Lab</h1></a>
            </div>
            <nav class="menubar">
                <ul>
                    <li><a href="#">Home</a></li>
                    <li><a href="#">Product</a></li>
                    <li><a href="#">Research</a></li>
                    <li><a href="#">About Us</a></li>
                    <li><a href="#">Contact</a></li>
                </ul>
            </nav>
            <div class="signButton">
                <button>Login</button>
                <button>Register</button>
            </div>
        </nav>
        <div class="main">
            <div class="left">
                <div class="text">
                    <h5>WELCOME LAB</h5>
                    <h2>Eu do exercitation reprehenderit culpa do occaecat fugiat nulla.</h2>
                    Ut incididunt aliqua culpa enim. Velit aliqua dolor cupidatat veniam minim excepteur magna dolor incididunt ea deserunt ex nulla. Exercitation esse quis ea velit ullamco esse deserunt ut dolore. Sunt quis irure velit cupidatat mollit ut culpa reprehenderit duis.
                </div>
                <div class="findButton">
                    <button>Explore</button>
                    <button>Watch Video</button>
                </div>
            </div>
            <div class="right">
                <img src="https://cdn.pixabay.com/photo/2021/03/02/17/38/science-6063326_960_720.png" alt="labImg">
            </div>
        </div>
    </div>
</body>
</html>2. CSS
* {
    margin: 0;
    padding: 0;
}

body {
    background-color: #ede7f6;
}

a {
    color: black; text-decoration: none;
}

.container {
    width: 80%;
    margin: 0 auto;
}

.header {
    display: flex;
    flex-direction: row;
    justify-content: space-around;
    height: 20vh;
}

.icon {
    margin: 13px;
    width: 100px;
    display: flex;

}

.menubar ul {
    list-style-type: none;
    display: flex;
    flex-direction: row;
    justify-content: space-around;
    align-items: center;
}

.menubar ul li {
    margin: 10px;
    padding: 10px;
}

.signButton > button {
    margin: 15px;
    width: 60px;
    height: 30px;
    border: 0;
    border-radius: 5px;
    background-color: #b39ddb;
}
.signButton > button:hover {
    background-color: #e6ceff;
}

.main {
    height: 80vh;
    display: flex;
    flex-direction:row;
}
.main *{
    margin-bottom: 20px;
}

.left {
    width: 50%;
    margin-left: 50px;
    display: flex;
    flex-direction: column;
}
.text {
    width: 40vh;
}
.text h5 {
    color: #ae52d4;
}
.text h2 {
    color: #e7b9ff;
    font-size: 2em;
}

.main button {
    margin: 10px;
    width: 100px;
    height: 45px;
    border: 0;
    border-radius: 5px;

    background-color: #b39ddb;
}
.main button:hover {
    background-color: #e6ceff;
}
.right {
    width: 50%;
}
.labImg {
    align-self: flex-end;
    justify-self: center;
}
이번에는 몰랐던 점은 크게 없었던 것 같습니다.
button 태그를 깔끔하게 표현하려면 border:0; 을 하면 된다는 것을 알게 되었네요
그리고 a태그를 쓰게 되면 파란색 글씨에 밑줄이 쳐져서 좀 못생겨 지는데
a {
    color: black; text-decoration: none;
}이렇게 하면 깔끔하게 보일 수 있습니다.
마지막으로,
여기까지 읽어주셔서 감사합니다!!
